How to Set Up Your Tent in 5 Easy Steps
Setting up a tent may seem daunting if you’re new to camping, but with proper preparation and a few simple steps, it’s easier than it looks. Whether you’re planning a mountain getaway, a forest adventure, or a weekend camping trip, knowing how to set up your tent properly ensures a comfortable and hassle-free experience.
In this guide, we’ll walk you through the process of setting up a tent, from selecting the perfect campsite to securing your tent so it withstands any weather. Get ready to enjoy your next outdoor adventure with confidence!
1. Choose the Right Spot
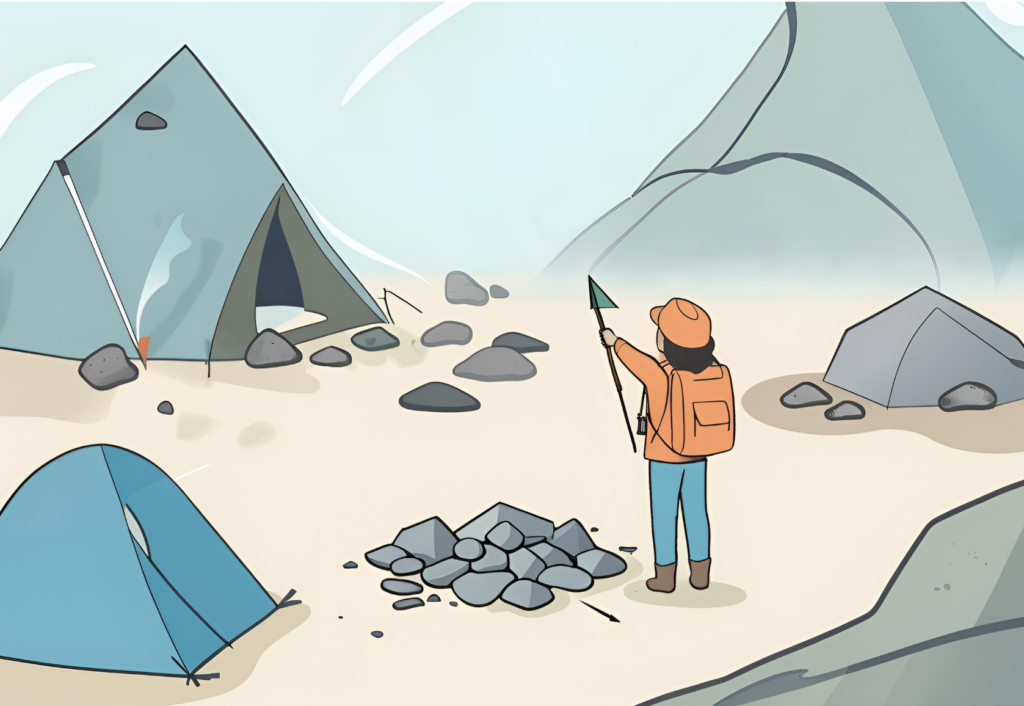
The first step in setting up your tent is carefully selecting your campsite. This decision can make the difference between a peaceful night and an uncomfortable one. Ideally, look for level ground without steep inclines that could cause your tent to shift or make sleeping uncomfortable.
Clear any rocks, sticks, or debris that could puncture the tent footprint or create discomfort during the night. Another key aspect is your tent’s orientation with respect to the wind and shade. Position the entrance of your tent opposite the wind to prevent gusts from entering directly. Finding shade can help keep your tent cooler during the day.
2. Unpack and Organize the Pieces
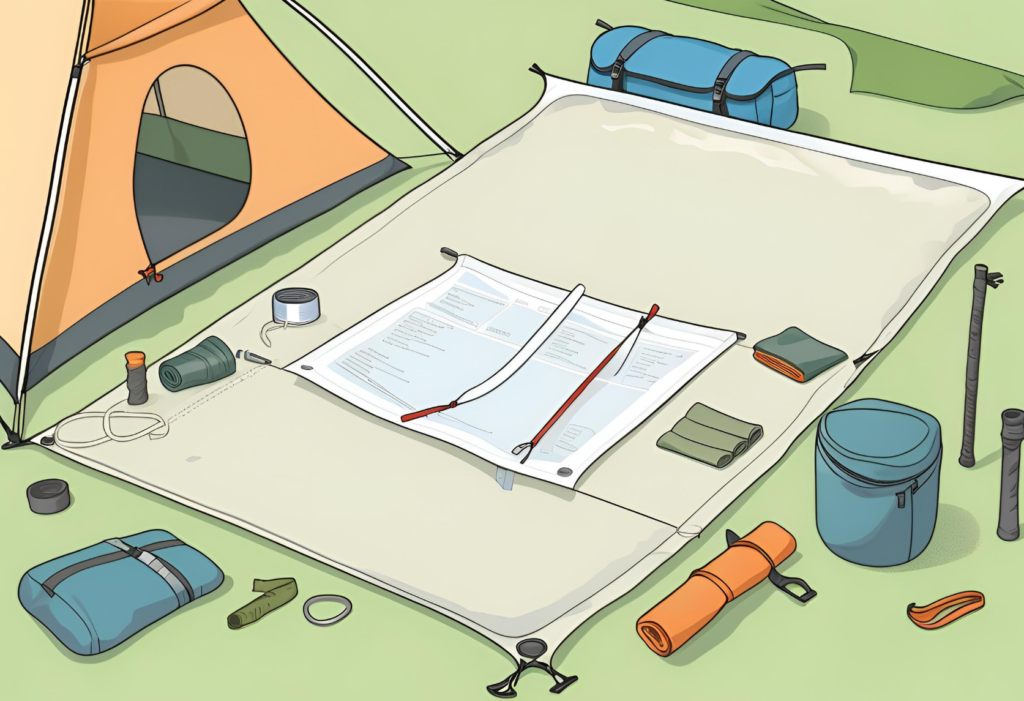
Once you’ve found the perfect spot, it’s time to unpack and organize all the components of your tent. Laying everything out in an orderly fashion makes the assembly process smoother and ensures you don’t lose any crucial parts. Start by spreading out the tent footprint or ground tarp over the selected area.
This extra layer of protection helps keep moisture out and shields the tent body from potential damage. Take out the tent poles, stakes, and the main tent body. Check that all pieces are present and in good condition before starting the setup. Separating parts by type will help you stay organized.
3. Assemble the Tent Structure
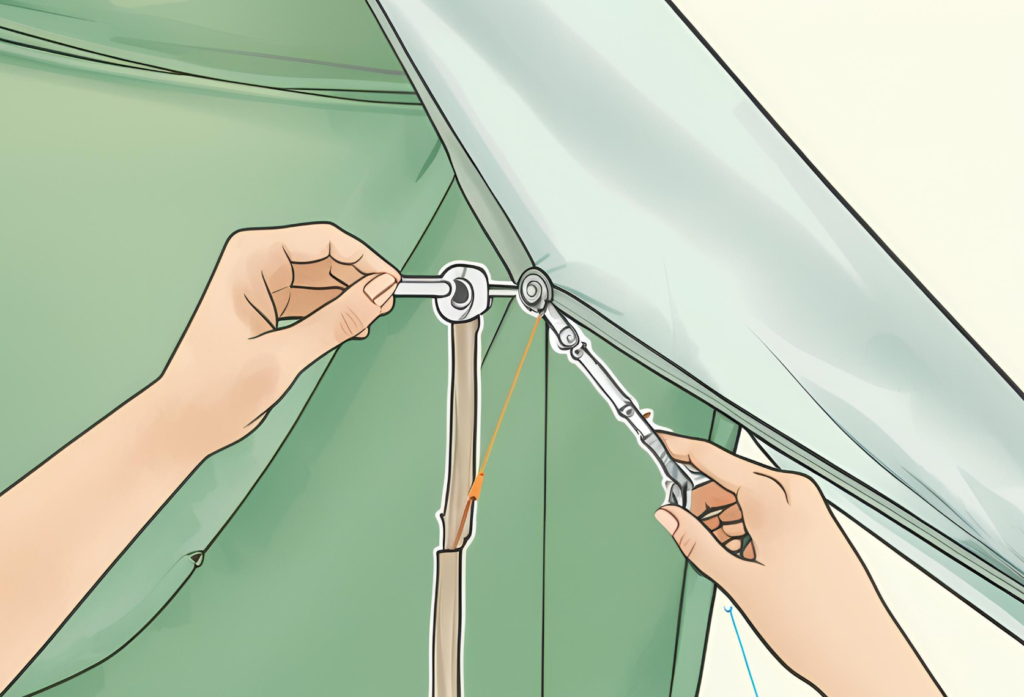
Now it’s time to assemble the structure of your tent. Most modern tents come with flexible tent poles that connect to form arches, providing stability and shape. Begin by assembling the poles according to the manufacturer’s instructions. They usually snap together easily, forming a framework for the tent.
Once the poles are assembled, insert them into the designated channels, grommets, or clips on the tent body. These are sewn into the tent fabric to guide the poles into the correct shape. After the poles are properly inserted, secure the tent in place by fixing the poles into the tent’s grommets at the corners.
4. Secure the Tent to the Ground
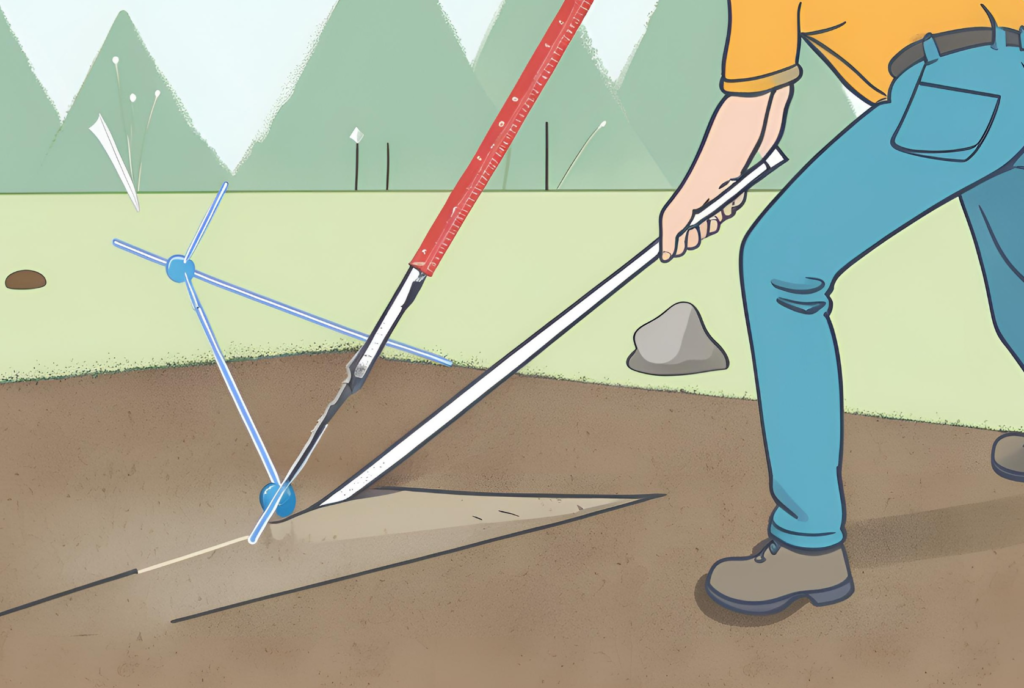
With the tent structure assembled, the next step is to secure it firmly to the ground. This is essential to prevent your tent from moving or even blowing away in the wind. Start by driving the tent stakes into the ground at each corner. These stakes should be hammered into the ground at a 45-degree angle.
This gives them better resistance against strong winds. If your tent comes with guy lines, tighten them to add extra stability to the structure. Guy lines attach to the corners or upper points of the tent, extending outward and securing to the ground with additional pegs. Ensure your tent is properly staked and taut.
5. Attach the Rain Fly
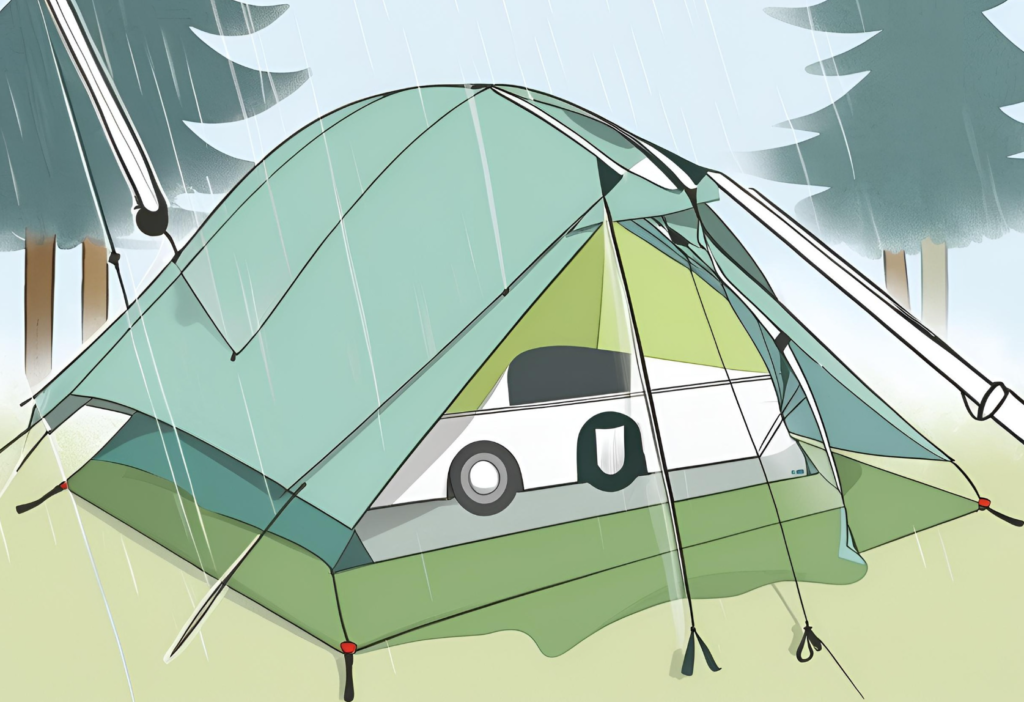
The rain fly is the waterproof cover that goes over your tent to protect it from rain and wind. Attaching it correctly is crucial to keeping the inside of your tent dry and cozy, especially in adverse weather conditions. Drape the rain fly over the tent structure and secure it using the adjustable straps, hooks, or buckles provided.
Make sure the rain fly covers the entire tent, including the entrances and windows, so no water can leak in. Also, check that the tent’s ventilation openings are clear to allow airflow and reduce condensation during the night. Proper ventilation will keep your tent fresh and reduce interior moisture.
6. Additional Tips

Setting up a tent is just the beginning of a successful camping experience. Always check the weather conditions before heading out. If rain is expected, make sure your rain fly is in good condition. For windy conditions, double-check that your guy lines are secure and that your stakes are driven into tough soil if necessary.
It’s also a good idea to practice setting up your tent before your trip. Pitching it at home or in a local park will give you confidence and speed when setting it up at the campsite. Always carry a basic repair kit with waterproof tape, tent patches, and a multi-tool. This will allow you to quickly fix any unexpected issues.
With these steps and additional tips, you’ll be well-prepared for any situation that comes your way during your outdoor adventure. Happy camping!


